 RidgeSync
Wilderness First Aid Basics: Assess, Treat, and Know When to Evacuate
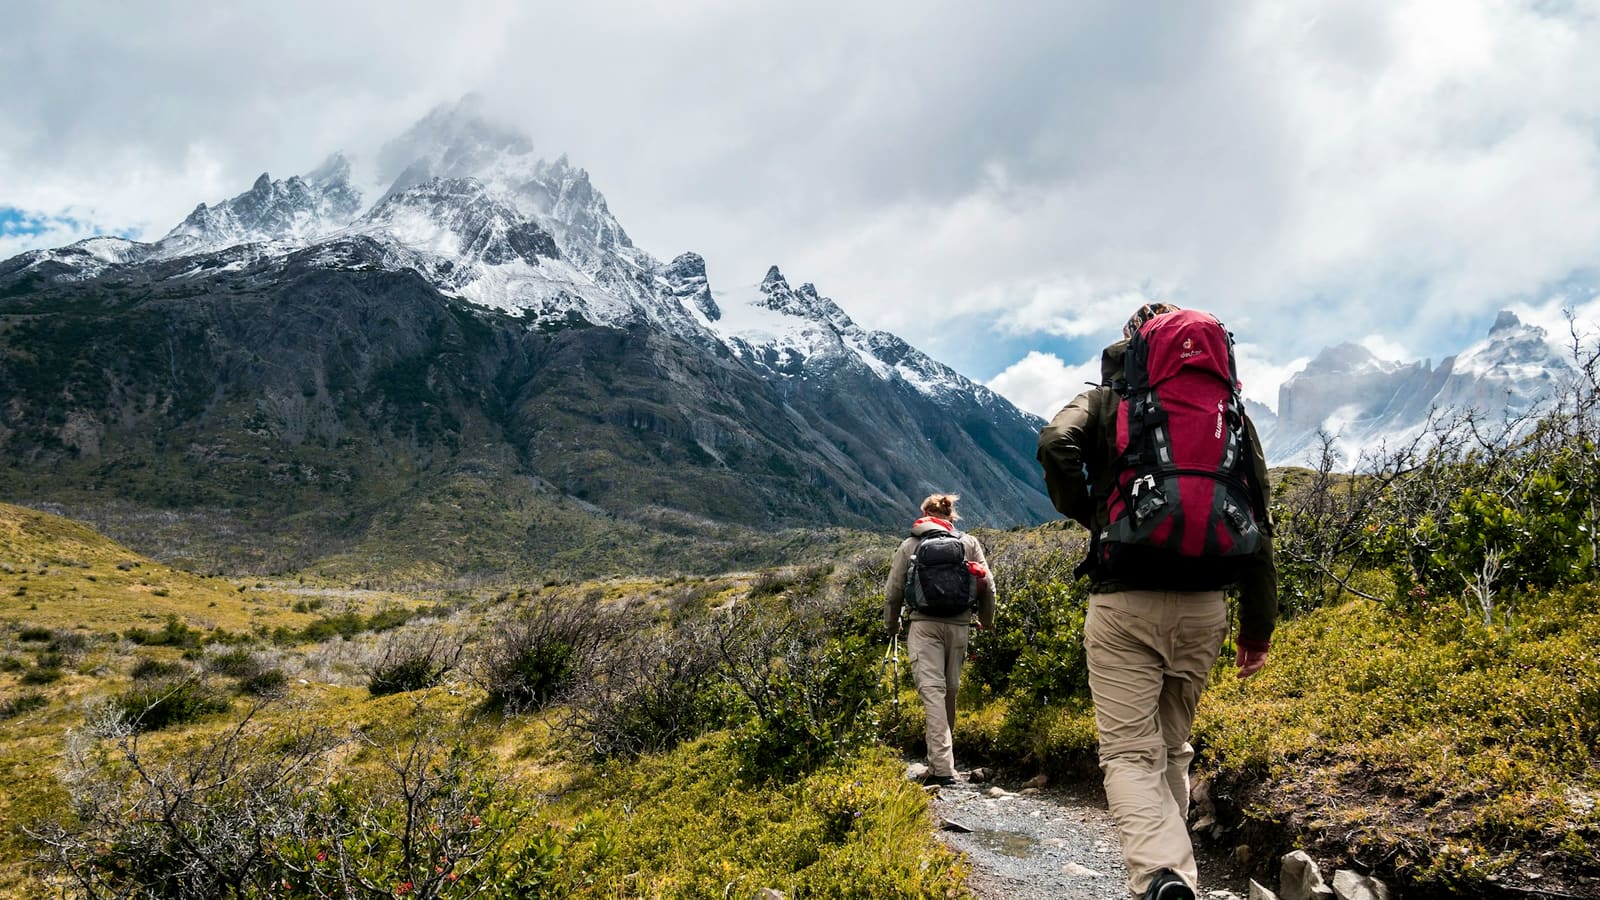
Wilderness first aid basics come down to three moves, in order: assess the scene and the patient before touching anything, treat what's actually life-threatening first, then decide whether the injury needs a hospital or a bandage. Most trail injuries are minor, sprains, cuts, blisters, burns from a stove, but the skill that matters most is telling a minor injury from one that needs evacuation.
None of this replaces hands-on training. A 16-hour Wilderness First Aid (WFA) course teaches everything below with practice scenarios, and it's worth taking before a season of backpacking, not after an incident.
The primary assessment comes before any treatment
Work through a fixed sequence so you don't miss something worse than what's obvious. This takes under two minutes on a stable patient.
- Check scene safety first
Rockfall, lightning, an angry animal, or a river current can turn one patient into two. Don't approach until the scene is safe.
Tip Move the patient only if the danger is worse than the risk of moving them.
- Check responsiveness and the ABCs
Tap and shout to check consciousness, then confirm airway, breathing, and circulation. A patient talking to you has an open airway and is breathing.
Tip Uncontrolled bleeding gets direct pressure immediately, before you finish the rest of the assessment.
- Consider spinal precautions
Falls, being struck by something, or any high-energy mechanism of injury mean you stabilize the head and neck and avoid unnecessary movement.
- Run a head-to-toe secondary survey
Once immediate threats are handled, check the whole body for deformity, swelling, bleeding, or pain. Ask about symptoms, allergies, medications, and history.
Tip Write down what you find and when; symptom changes matter if this becomes an evacuation.
Treating the injuries you'll actually see
The overwhelming majority of backpacking first aid is sprains, wounds, burns, and blisters.
- Sprains: rest, ice if available, compression with an elastic wrap, elevation for 20 to 30 minutes; a trekking pole and tape can stabilize an ankle to walk out slowly
- Wounds: irrigate with clean water (a syringe or punctured bottle works well), control bleeding with direct pressure, then cover with a clean dressing
- Burns: cool with water for 10 minutes, never ice directly on skin, cover loosely, never pop a burn blister in the field
- Blisters: tape a hot spot before it becomes a blister; an already-formed one gets padded, drained with a sterilized needle only if large and likely to tear open
Improvising with what's already in your pack
You rarely need specialized gear: a trekking pole splints a lower leg, a bandana or shirt sleeve makes a sling, and duct tape wrapped around a pole handle secures almost any improvised splint.
Your kit should still carry what's hard to improvise: gauze, tape, blister dressings, tweezers, and personal medications. Improvisation fills gaps; it doesn't replace a kit.
When to self-treat and when to evacuate
Most sprains, small wounds, and blisters can be managed on trail. A smaller set of signs mean you stop, stabilize, and get the patient out, on foot with help, by vehicle, or by calling for rescue.
- Altered mental status: confusion, slurred speech, or fading consciousness
- Bleeding that won't stop with 10 minutes of firm, direct pressure
- Chest pain, difficulty breathing, or a venomous snakebite
- Deformity suggesting a fracture, or inability to bear weight on a leg
- A wound with spreading redness, red streaking, fever, or pus
- Any injury where you're genuinely unsure the patient can safely continue
When in doubt, treat it as an evacuation. It's cheaper to hike a stable patient out an hour early than to gamble overnight.
Getting trained: WFA vs. WFR
A Wilderness First Aid (WFA) course runs about 16 hours over a weekend and covers everything above with hands-on scenarios. It's the right baseline for anyone who backpacks regularly.
Wilderness First Responder (WFR) is a 70 to 80 hour course for trip leaders and anyone traveling in genuinely remote terrain, with deeper training in extended patient care over days rather than hours.
Frequently asked questions
What is the first step in wilderness first aid?
Check that the scene is safe before approaching, then assess responsiveness and the ABCs (airway, breathing, circulation). Treatment starts only after this primary assessment, so you don't miss a bigger problem while focused on an obvious injury.
What should be in a basic wilderness first aid kit?
Gauze and dressings, tape (including blister tape), an elastic wrap for sprains, tweezers, personal medications, and a syringe for wound irrigation. Duct tape and a trekking pole cover most improvised splinting needs.
How do you know when to evacuate someone on a backpacking trip?
Evacuate for altered mental status, bleeding that won't stop after 10 minutes of pressure, chest pain or breathing trouble, a suspected fracture, or a wound with spreading infection. When unsure, treat it as an evacuation.
Is a Wilderness First Aid course worth taking?
Yes. The 16-hour WFA course teaches assessment, injury treatment, and evacuation decisions through hands-on scenarios. Trip leaders and anyone in remote terrain often go further with a 70 to 80 hour WFR course.
How do you treat a blister on a backpacking trip?
Cover a hot spot with low-stretch tape the moment you feel it, before a blister forms. An existing blister gets padded and covered; drain it with a sterilized needle only if it's large and likely to tear open.