 RidgeSync
How to Find Photo Spots Along a Hiking Trail
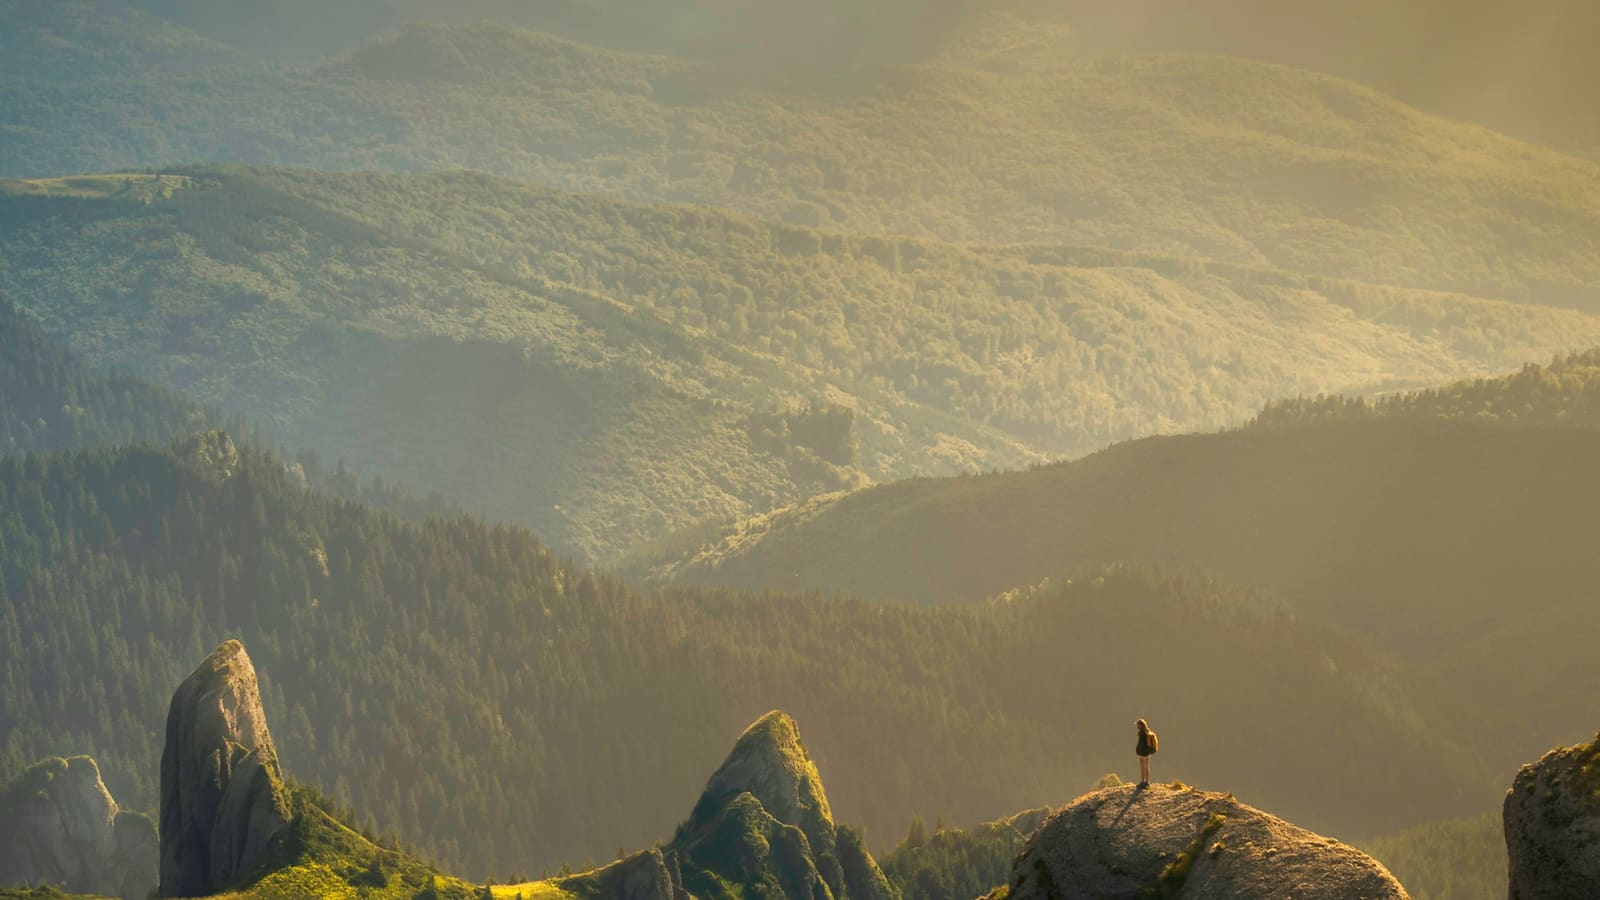
RidgeSync finds photo spots along a hiking trail by scanning geotagged Wikimedia Commons photos within about 1.8 km of your drawn route, then dropping pins at the best shots so you know where to look up on trail. Draw a route first, since the Find photo stops button stays disabled until a day has one.
Free accounts get the first 3 photo stops discovered along a route; RidgeSync Pro unlocks the rest. You can also drop a Photo stop marker by hand anywhere on the map and pin a specific photo yourself.
Step by step: find photo spots along your route
- Draw your route first
The Find photo stops button reads "Photo stops unlock after you draw a route" and stays disabled until the current day has a drawn route. Use the Draw route tool to lay down at least one day's line before you search.
Tip Snap your route to real trails first, photo results are pulled from a corridor around the actual line, so a sloppy route misses real vantage points.
- Click "Find photo stops"
The button sits under your trip stats. On a multi-day trip it reads "Find photo stops for trip" and searches every day at once instead of just the one you're viewing.
- Watch the search run
A progress indicator shows "Searching… N%" while RidgeSync checks geotagged Wikimedia Commons photos within roughly 1.8 km of your route line, day by day.
- Read the results toast
When the search finishes you'll see "Added N photo stop(s)" if photos were found near your route, or "No new photos along this route" if the corridor came up empty, common on lightly photographed trails.
- Know the free plan cap
Free accounts cap at 3 photo stops per trip. If more were found, a banner reads "More photos found along your route, unlock them all with Pro →" so you know results are being held back, not missing.
- Add a photo stop by hand
Click the Photo stop tool in the map toolbar, then click the map at the spot you want. This opens the "Pin a PIO" prompt, which auto-searches nearby geotagged photos the same way the bulk search does.
Tip Click the Photo stop tool a second time to return to Pan mode without placing a marker.
- Pick a photo or paste a URL
Choose a suggested image and confirm with "Use this PIO", or paste a direct image link and confirm with "Use URL" if you already know the shot you want pinned.
How photo discovery actually works
RidgeSync doesn't guess at scenery, it queries real geotagged photos from Wikimedia Commons that fall within about 1.8 km of the line you drew, then places a pin at each match. That's why route quality matters: a route that hugs the actual trail turns up genuine overlooks and summit shots, while a rough, straight-line sketch mostly misses them.
Photo pins cluster together once you zoom past level 13, so a dense stretch of trail with a dozen nearby images collapses into a single cluster number instead of cluttering the map. Click any pin, or any cluster, to open the Photo Lightbox and browse the full-size images before you commit to the detour.
Deciding which photo stops are worth the detour
Not every geotagged photo near your route marks a viewpoint worth a stop, some are trailhead signs or campsite snapshots. Skim the Photo Lightbox for images that clearly show a summit, overlook, waterfall, or lake before you plan extra time around one.
If you're chasing golden-hour light, cross-reference photo stop locations against your day's elevation profile: a photo pin near a high point on the profile is more likely to be a real overlook than one near a low, wooded stretch of trail.
Try it live
Frequently asked questions
Why is the "Find photo stops" button greyed out?
It stays disabled until the current day has a drawn route, shown by the label "Photo stops unlock after you draw a route." Draw at least one route before searching.
How far from my route does RidgeSync look for photos?
Roughly 1.8 km on either side of your drawn route line. Photos are pulled from geotagged Wikimedia Commons images that fall within that corridor.
How many photo stops can I find for free?
Free accounts cap at 3 photo stops per trip. If the search finds more, a banner offers to unlock the rest with RidgeSync Pro.
Can I add a specific photo instead of using the search results?
Yes. Place a Photo stop marker manually, then in the "Pin a PIO" prompt paste an image URL and confirm with "Use URL" instead of picking a suggested photo.